How to Add Photos to Your Vendor Profile
Your profile images help ERG leaders quickly understand who you are and what working with you feels like. This article walks you through how to upload each image type in your Vendor Dashboard, plus best-practice tips to make sure everything displays correctly.
Before You Start
Have these files ready:
Cover photo (landscape recommended)
Headshot (portrait recommended)
Gallery images (landscape required)
💡 Tip: If you want to crop images ahead of time, use the Canva template linked beneath the Upload Logo button in your dashboard. Be sure to delete the gray placeholder boxes before downloading your final image.
Step 1: Upload Your Cover Photo
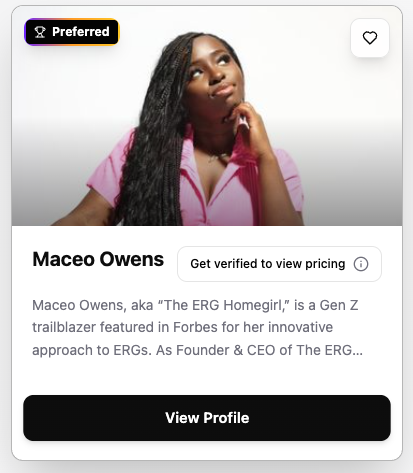
Your cover photo appears on your vendor card in the Discover section, so it’s one of the first things ERG leaders see.
Log into your Vendor Dashboard
Scroll to the Brand Images section
Click Upload Logo
Select your cover image from your computer
✅ Best Practices
Use a landscape image for the cleanest fit
Logos work fine here, but a regular brand image works well too
If you don’t upload a cover photo, your headshot will display instead—and it often crops awkwardly, so we recommend adding something here
Step 2: Upload Your Headshot
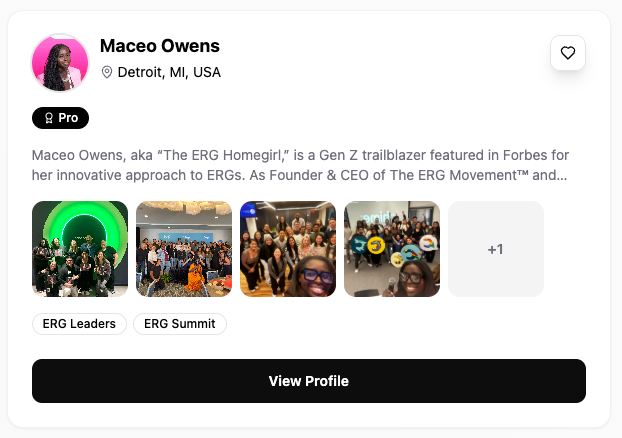
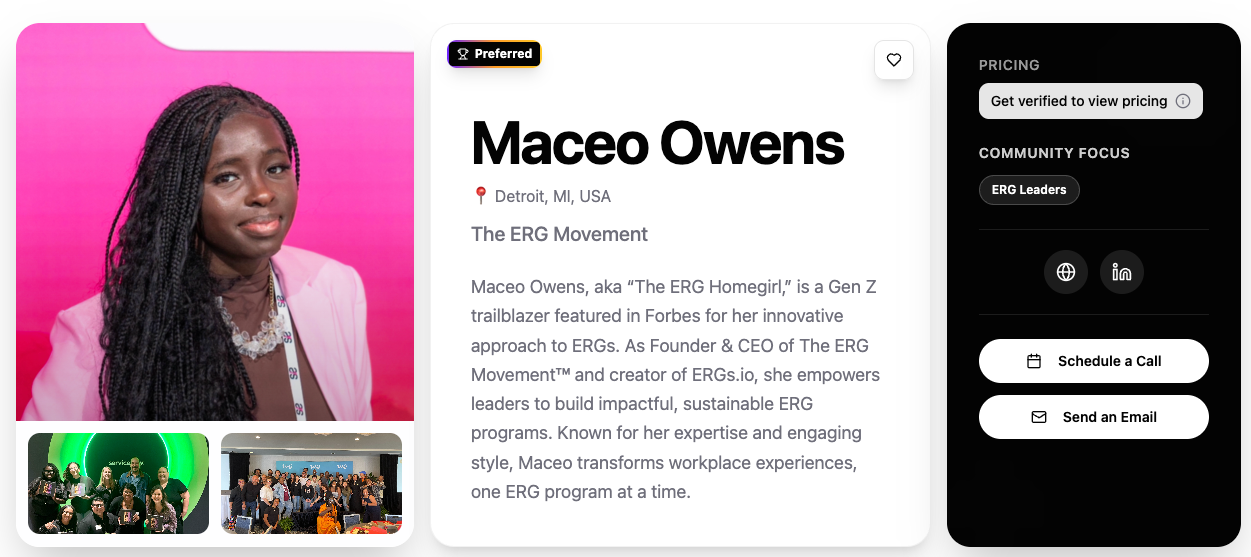
Your headshot appears on your main vendor card and on your full profile.
In the Brand Images section, locate the Headshot upload area
Click Upload Headshot
Select your headshot image
✅ Best Practices
Choose a clear, well-lit portrait-oriented photo
Leave extra space above your head so it doesn’t crop too tightly
Step 3: Upload Gallery Images
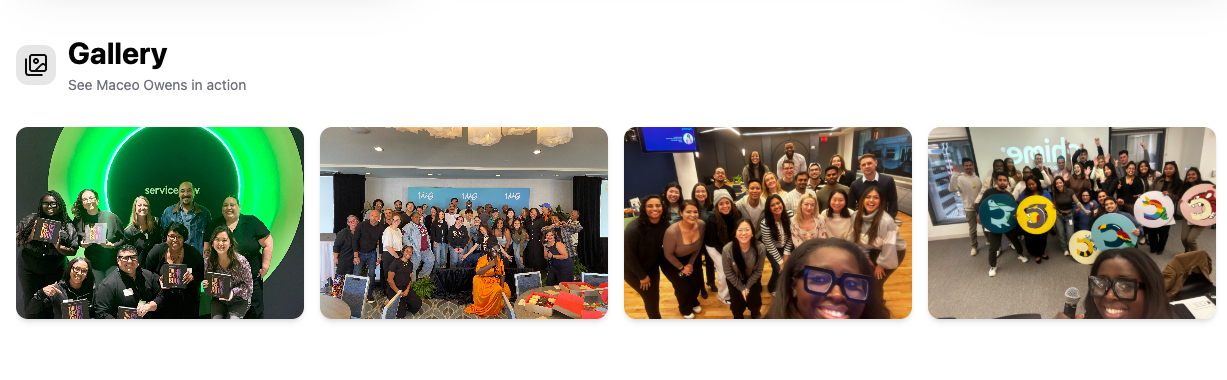
You can upload up to 10 gallery images. These show as:
A small preview on your vendor card (see previous screenshot)
A mini scroll beneath your headshot on your profile (see previous screenshot)
A larger gallery scroll above your services
Scroll to the Gallery Images section
Click Add Images
Select an image from your computer
Repeat until you’ve added all desired images (up to 10)
✅ Best Practices
Landscape images are required for gallery uploads
Portrait images will be cropped and usually don’t display well
If you add a video link later (under website/social links), it will automatically appear in the first slot of your larger gallery
💡 Tip: While you can upload up to 10 images, we recommend including at least 4–5.
Image Strategy Tip: Save Your Best Photos for Services
If you have limited photos, prioritize your strongest images for your service cards. Service cards can appear in searches and discovery outside of your profile, so having a strong service image helps ERG leaders connect you to the offering quickly.
Common Mistakes to Avoid
Uploading portrait images to the gallery (they will crop awkwardly)
Skipping the cover photo (your headshot may auto-fill and crop weird)
Using text-heavy graphics (hard to read at the sizes images display)
For a full walkthrough on setting up your vendor profile, check out this Getting Started Guide.